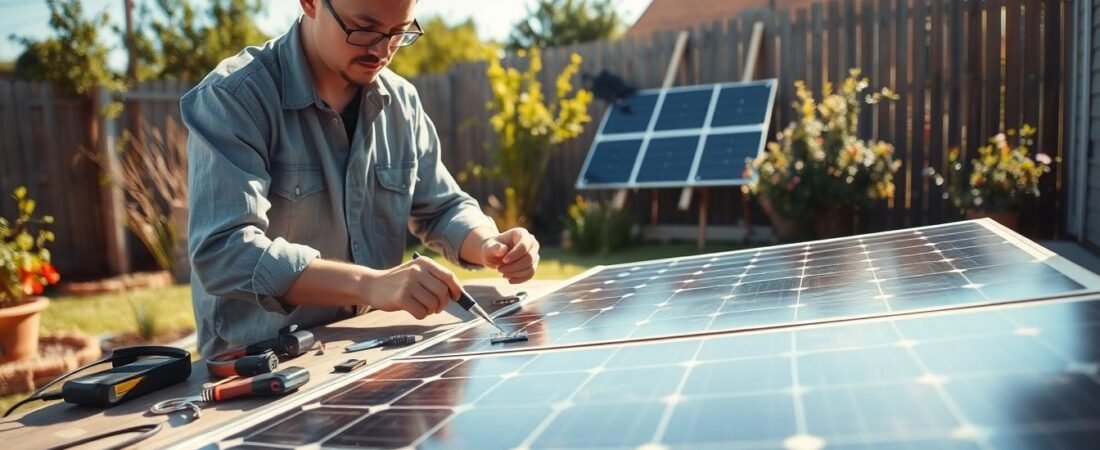
Ready to cut your electricity bills? This quick guide shows a friendly path to assemble a basic energy system that can power a small residence. Prices for panels have fallen since 2007, making DIY projects more affordable.
With a few tools and clear steps, you can set up a compact system. You will learn about the battery, charge controller, and the main panel unit. The process covers wire selection and safe connections.
This short guide breaks the work into simple steps. It explains how to calculate loads and pick the right number of components so your setup will charge and store energy efficiently. For a full walkthrough, check the linked resource on building a DIY off-grid system: build a DIY off-grid solar system.
Start small, plan well, and save money. A basic toolbox and patience will go far toward a reliable system that can power home devices and cut monthly bills.
Understanding the Basics of Solar Energy
Clear facts about sunlight, output, and storage help you estimate the amount of power your roof can yield. Solar panels still produce useful electricity on cloudy days—about a quarter of peak output—so plan around variable conditions.
Daily sunlight amount and the time panels face the sun drive system efficiency. Choose batteries and a charge controller that match your expected draw and storage needs.
“Sizing storage and controllers correctly keeps batteries healthy and extends system life.”
Connecting your array to the grid is an option that lets you sell surplus energy back to the utility. That choice affects component sizing and ongoing costs.
| Condition | Typical Output | Best Use |
|---|---|---|
| Sunny Day | 100% peak | Run loads + charge batteries |
| Cloudy Day | ~25% peak | Reduce non-essential loads |
| Night | 0% from panels | Batteries or grid supply |
Quick tip: Check local sunlight data and plan the amount of storage and panel capacity before you build solar energy system components.
Assessing Your Home for Solar Potential
A quick roof check and a shade survey reveal whether your rooftop can deliver steady energy. Start by noting roof age, pitch, and available area. These facts guide the best system option and affect installation ease.
Roof Condition
Inspect shingles, flashing, and structural soundness. An old roof may need replacement before any work begins. Replacing a worn roof first protects your investment and keeps panels working at peak efficiency.
Shading and Obstructions
Nearby trees and buildings can cut output over time. Even small shade patches reduce long-term efficiency.
- Use mapping tools to estimate sunlight and the number of panels you need.
- Ask a professional solar installer for a site assessment tailored to your needs and local sunlight data.
- Decide if a grid or off-grid option fits your electricity goals.
| Factor | What to Check | Impact |
|---|---|---|
| Roof Age | Shingles, leaks, support | May require replacement before installation |
| Shade | Trees, chimneys, nearby buildings | Reduces amount of usable sunlight |
| Area | Usable rooftop square footage | Determines number of panels and power output |
For planning details and official guidance, review planning a home system.
Essential Components for Your Solar Setup
A compact setup depends on a few key components that work together. A quality solar panel and a deep-cycle battery form the core of any energy system.
Charge controller management is crucial. The controller prevents overcharge by regulating electricity from the panels into the batteries. This extends battery life and keeps the system safe.
Inverter choice matters as well. The inverter converts DC power stored in batteries into AC electricity your home uses. Pick one that matches your expected peak loads.
- Use copper wire, proper connectors, and fuses sized to manufacturer specs.
- Link the solar panel battery bank to the inverter with secure connectors and routed wires.
- Include grounding and surge protection for added safety.
Tip: Buy reputable brands and match component voltages so your system runs smoothly and lasts longer.
How to Make Solar Panel for Home Systems
Choosing the right module type sets the tone for your entire project. Pick a design that matches your budget and expected output before ordering parts.
Choosing Between Monocrystalline and Polycrystalline
Monocrystalline panels cost more but deliver higher efficiency and better performance in limited roof area.
Polycrystalline panels offer lower cost per panel and still provide reliable energy when space is ample.
Average sunlight runs about 4 hours per day in many U.S. locations, so calculate expected output before you pick parts.
- Carefully connect the charge controller and battery; follow a trusted guide to avoid equipment damage.
- Use a Pure Sine Wave inverter if you plan to run sensitive appliances; it supplies clean electricity and steady power.
- If wiring or cost choices feel unclear, consult a licensed solar installer for safety and savings advice.
“Choose efficiency when roof area is limited; choose cost savings when space is abundant.”
Calculating Your Energy Load and Requirements
Start by listing every device that draws power and note its watt rating and daily hours. Multiply each item’s watt rating by its runtime to get watt‑hours. Add those totals for the daily energy amount.
Decide on a 12V, 24V, or 48V system based on total power needs. Higher voltage suits larger systems and reduces current in wires.
- Record appliance wattage and hours.
- Compute watt‑hours: Watt Hour = Run Time × Product Power Rating.
- Divide daily watt‑hours by sunlight hours to estimate panel array size.
Tax note: The federal investment tax credit is 30% for qualifying installs through 2032, which lowers upfront cost.
Every accurate step in this calculation affects the number of batteries and the size of the panel array required.
| Item | Example Value | Why It Matters |
|---|---|---|
| Daily Watt‑Hours | 3000 Wh | Determines panel output and battery capacity |
| System Voltage | 12V / 24V / 48V | Affects wire gauge and charge controller choice |
| Battery Count | Depends on amp‑hours and voltage | Sizes storage for overnight power |
| Panel Number | Calculated from peak sun hours | Ensures enough energy each day |
Mounting and Positioning Your Panels
Small changes in tilt and angle can boost daily energy harvest more than swapping panel models.
Optimal Tilt Angles
Aim the array south in the U.S. and set tilt between 15 and 40 degrees. This range balances year‑round sunlight and peak output.
Adjust angle by latitude and seasonal needs. A fixed tilt near your latitude works well for most rooftops.
Securing to the Roof
Use the factory mounting holes and rated rails or stands. Fasten each panel to the mount with approved bolts and flashing.
Run proper wires and connectors into a weatherproof conduit. This keeps the installation safe and compliant with local electrical codes.
Ground Mount Alternatives
If the rooftop area is shaded or weak, a ground mount is a good option. It lets you orient panels for max sunlight and easier maintenance.
Ground racks also simplify angle tweaks and can hold larger arrays if your goal is more power or storage tied to a battery and charge controller or the grid.
Wiring and Connecting Your Solar Components
Begin system wiring with a clear plan and labeled cables to avoid mistakes. Lay out the inverter, controller, battery, and junction box so each connection is obvious.
Safety first. Before any touch, wear gloves and eye protection. Cover the panel with a dark cloth while you work to prevent live voltage during connections.
Safety Precautions for Electrical Connections
Follow one key rule: connect the charge controller to the battery first. This lets the controller calibrate and protects the battery and system electronics.
- Use red for positive and black for negative on every wire to avoid shorts.
- Use MC4 connectors at the panel junction box when linking panels and the charge controller.
- Route wires through rated holes and use proper grommets at roof or conduit entries.
If you hit trouble or the system won’t power up, contact a licensed electrician. A pro will ensure the energy system meets code and your grid needs.
“Proper wiring keeps components healthy and cuts risk.”
Final Thoughts on Your DIY Solar Journey
, Completing this DIY project gives clear savings and useful hands‑on skills. You learn each step for a safe system and gain confidence in managing energy and electricity needs.
Plan well: pick the right panel and battery, size the charge controller, and route wire with care. This process keeps installation costs down and avoids surprises during roof work.
If a task feels beyond your skills, hire a licensed solar installer to finish the grid tie or complex repairs. A pro can also verify connections and certify the system.
Final note: follow this guide, protect your investment, and enjoy cleaner power that can cut bills and add value to your home.